Making a QR Code Quilt, Again

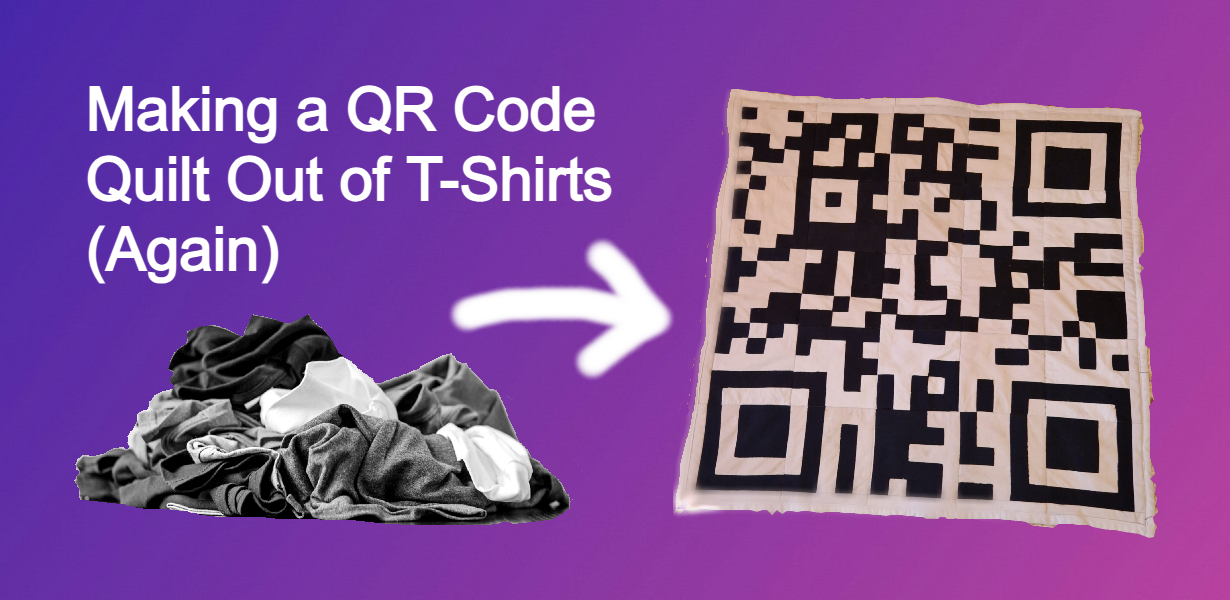
I really like projects that explore the overlap of traditional crafts and computing / digital technology. Some of my favourite examples of this include Madeleine Shepard's hacked knitting machine cellular automata, adversarial print that protects against surveillance cameras, and Charlie’s quiltagon project. Coming back from EMF camp (the most traditional craft x digital technology place in the world) I was inspired to revisit a past project of mine and improve on it.Last year I was looking at the stack of old (black and white) conference T-shirts I had accrued from years and conferences, and was wondering about what to do with them. I had the thought, could I make a quilted QR code? I had no idea what I was doing but I made it, the “quilt” (or QRuilt, thanks Jack) actually scanned but only when stretched in a particular way. This was a “postage stamp” quilt where all the modules were one individual fabric block.
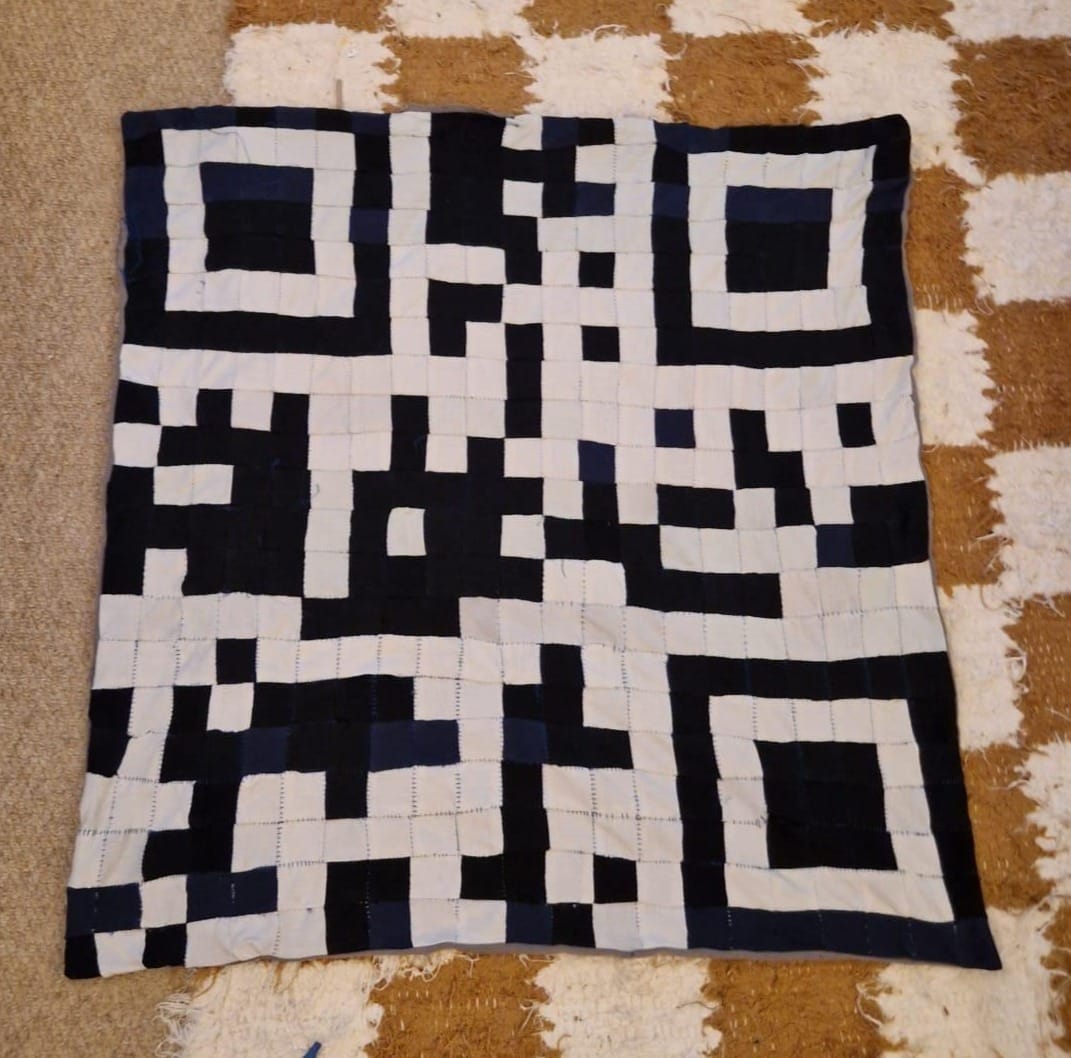
I later learned that what I made above isn’t even really a quilt, more of a fancy cushion cover. A quilt comprises three layers: the front; batting, which adds weight and warmth, and the back. Quilting is actually the process of sewing through all three of these layers to join them and ensure the batting is distributed evenly. Facing down another stack of old conference shirts, I decided to try making this project again. This time, I asked for some advice from my quilting-expert: nan; who armed me with a stack of books, quilting rulers, adhesive spray, and curved safety pins; not to mention some much needed encouragement throughout the project! Here’s how it went.
Making a Plan
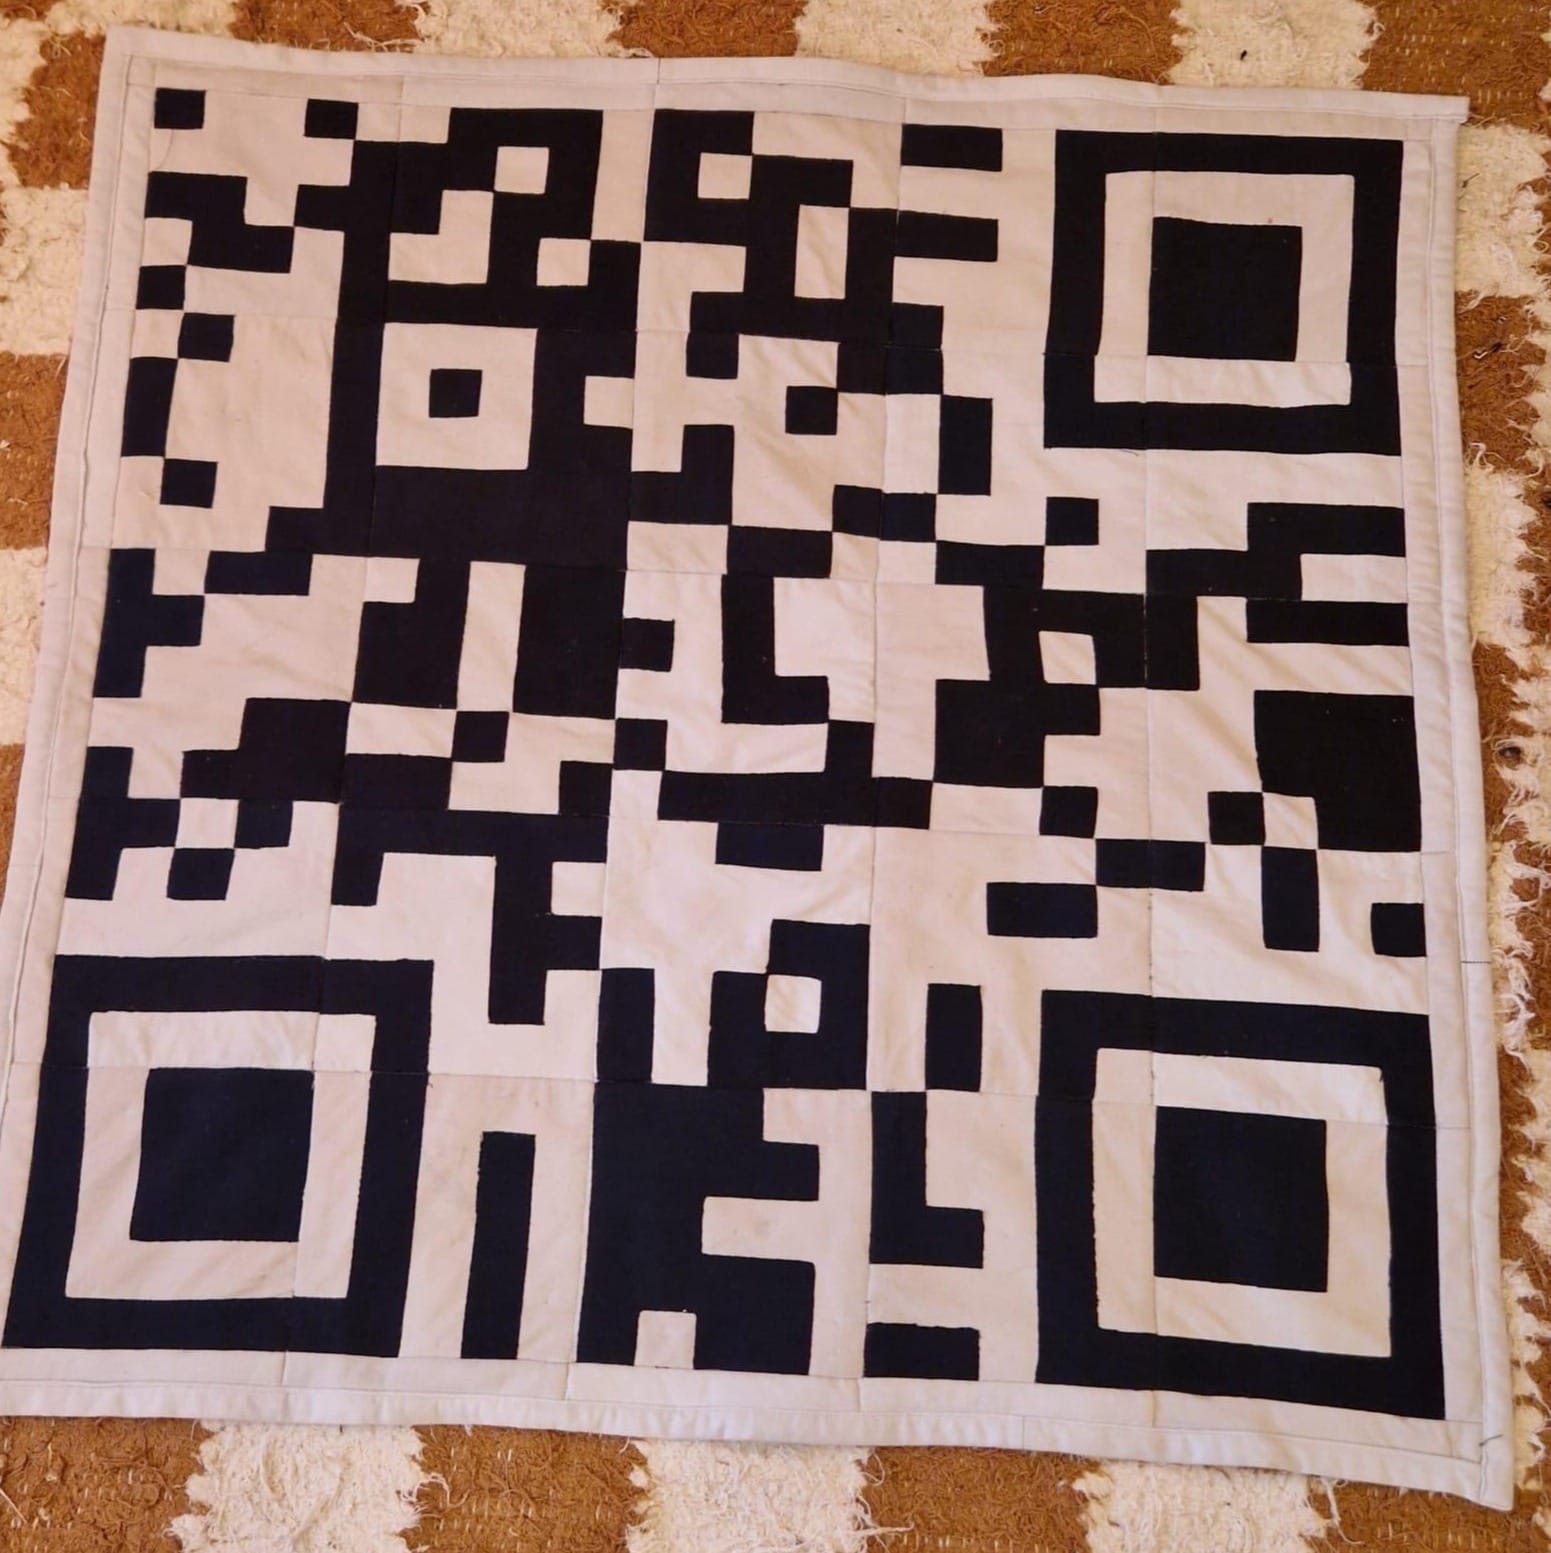
Rather than making a postage stamp quilt like the last time, I opted for a simpler approach this time: around 25 8x8” white blocks with the black QR code modules appliqued on top. These would then be pieced together to form the QR code with a 2” white border added to avoid any of the black modules being folded over the edge like in my first version. I wasn’t really sure how I was going to finish the edge when I started, but eventually landed on creating a binding out of leftover fabric.
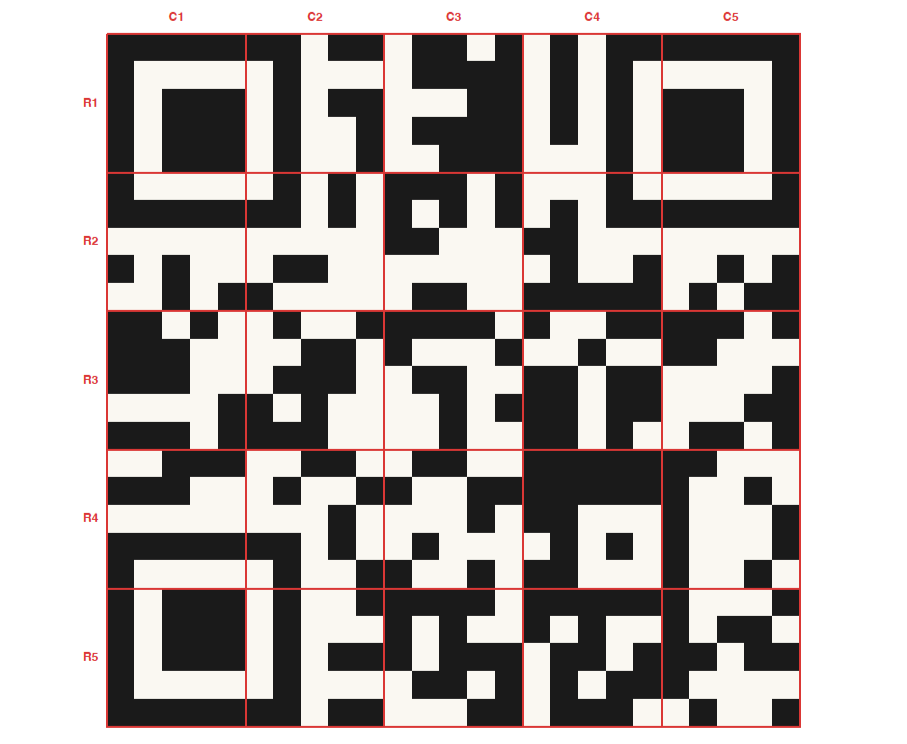
I kept a copy of the design of my QR code split into all 25 blocks to hand at all times throughout the project so I could keep track of where I was and make sure that I was putting my blocks together correctly.
Cutting and Assembling Blocks
T-shirt material is not ideal for quilting because, as a knitted material, it is very stretchy and prone to puckering and warping. So, after cutting all my (freshly washed) old t-shirts into usable sections, I ironed on some interfacing to stabilise the fabric. The interfacing provided an interesting opportunity for this project in particular: for the white fabric I just used a simple one-sided interfacing, but for the black fabric I used a double-sided, paper-backed, interfacing which had two main advantages. The paper backing helped provide extra stability to the black fabric whilst I was cutting it and when it came to attaching the black details, the fabric could be placed and pressed to fuse them into place before being appliqued on my sewing machine.
I cut all the white blocks out with an 8” quilting square and rotary cutter on a large cutting mat. I did the same for the black details, and then used my Silhouette Cameo 5 vinyl cutter to cut out the black shapes, using SVGs exported from my design in the previous section, re-using as much of the waste pieces as possible to cut down on fabric use. The vinyl cutter did a really good job of cutting through the black fabric face down on a sticky cutting mat and the interfacing backing paper left on. I used a depth of 7, force of around 32, and all other settings set to the default for cutting cotton fabric with the default knife attachment. I had a few hairy moments when the fabric came unstuck from the mat as, unfortunately, cutting fabric quickly removes the stickiness from the mat due to the dust produced.
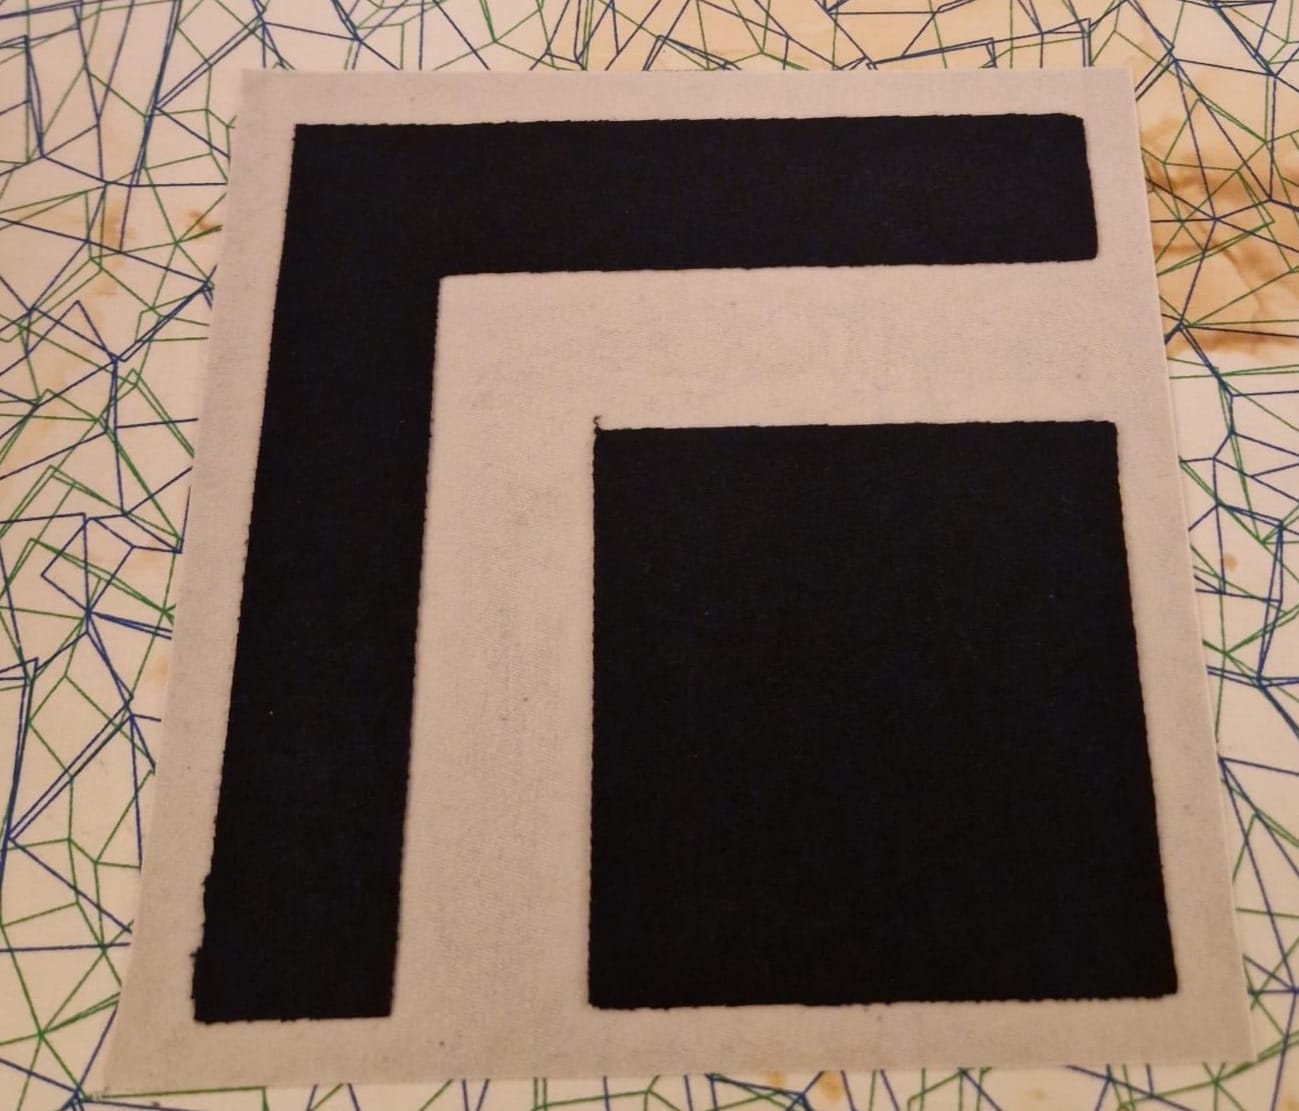
After ironing all of the black details onto the white blocks, I used black thread and a running stitch on my sewing machine to trace the edge of all the black details to make sure they were properly attached. After repeating this process for all 25 blocks, I was ready to start piecing them together.
Piecing Blocks
Piecing these blocks was pretty simple as they were all square and the same size. I pinned the blocks together making sure to line up black modules neatly, used a running stitch to attach the blocks together, and pressed the seams flat as I went to keep things nice and square.
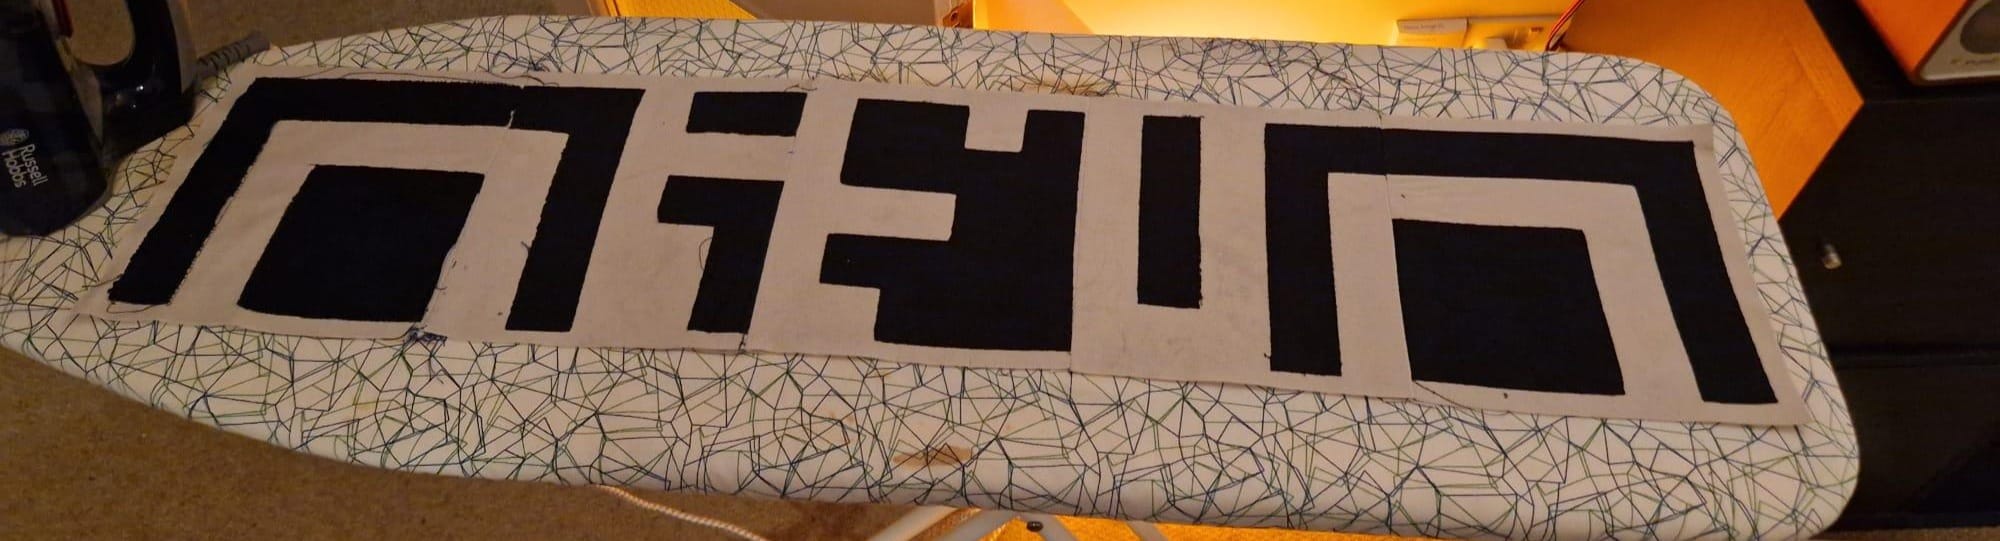
Once I’d completed two rows, I trimmed the corner of the end of each seam to remove excess fabric where the corners of four blocks met and then used one long seam to join each row together, repeating this process until I had a finished QR code!
Despite my best efforts there were some extremely visible but small gaps between the black modules around the center of the QR code. Towards the end of the project, I used a washable permanent marker to go over them and some errant white thread from quilting and it left the quilt looking much sharper!
Adding the Border
To add the border, I cut 2” wide, 8” long strips of the white; interfacing backed T-shirt fabric and sewed them together along the ends to create two 40” long rectangles and two 52” long rectangles. This was much longer than I needed but meant I could cut all my strips the same and use the rougher / stained ones at the ends. I pinned the shorter strips along the top and bottom of the pieced QR code and then attached them with a straight stitch. I then repeated the process for the two remaining sides with the longer strips, trimming off the excess with a quilting square to get some nice tidy corners for my finished front.
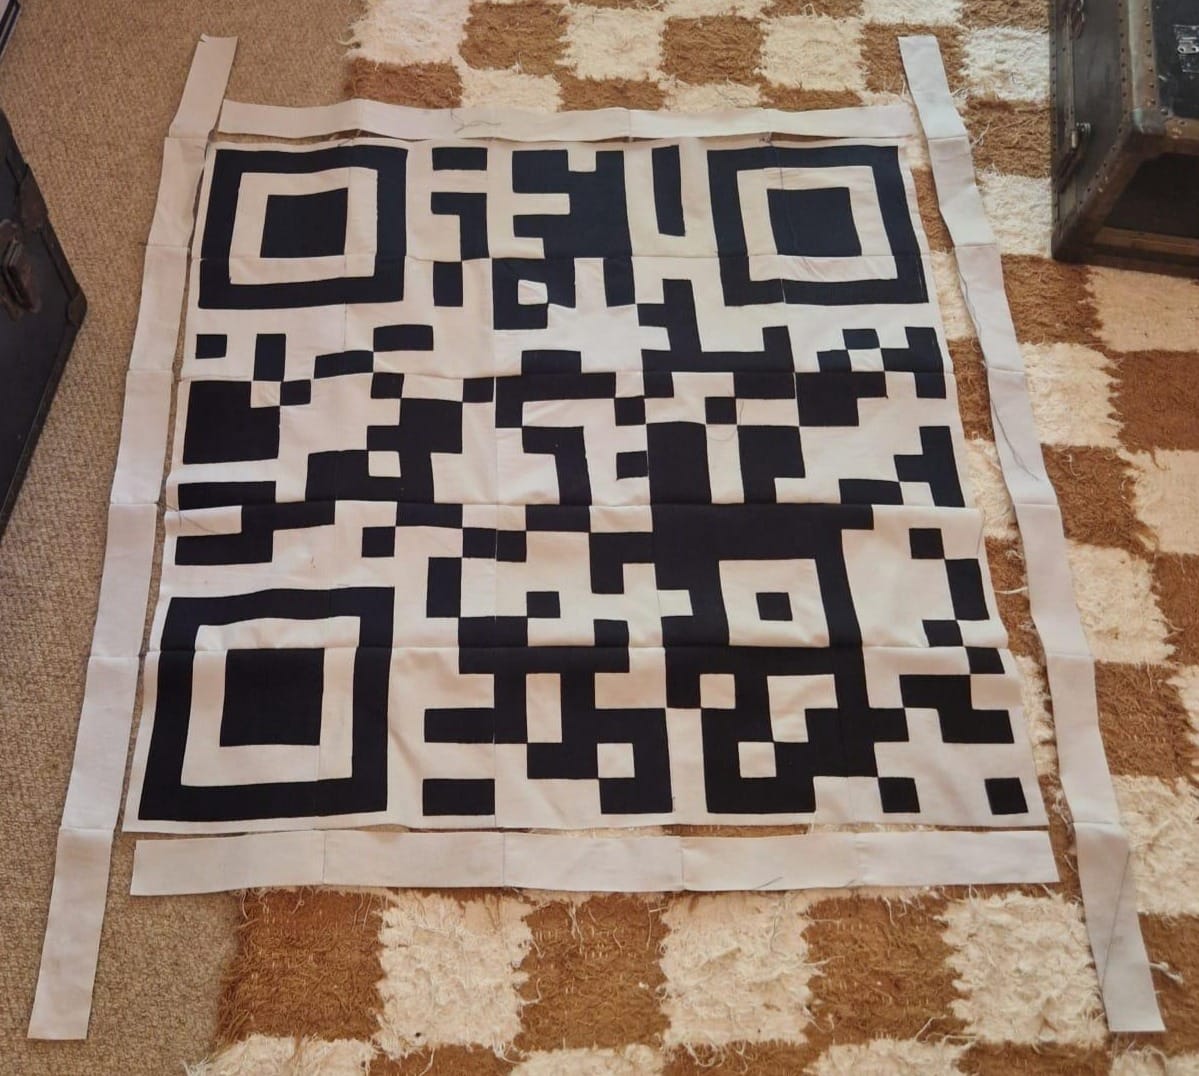
Making the Quilt Sandwich
Next came making the back and cutting the batting. I made a huge rookie error here: I cut the back and the batting to the exact size of the front. This is a bad idea for several reasons but primarily because, as you quilt the front, it spreads out more than the batting and back, even when really well basted. This meant the edges of my finished quilt were missing some batting and there were gaps between the back and the binding in places. For better results I should have left 4” or so of extra material around the edge. This would also have given me the option to finish the edge of my quilt by folding over the back rather than making a binding. Otherwise, this step went pretty smoothly.
I made the back by sewing together two large pieces of cream cotton fabric and pressing the seam flat.
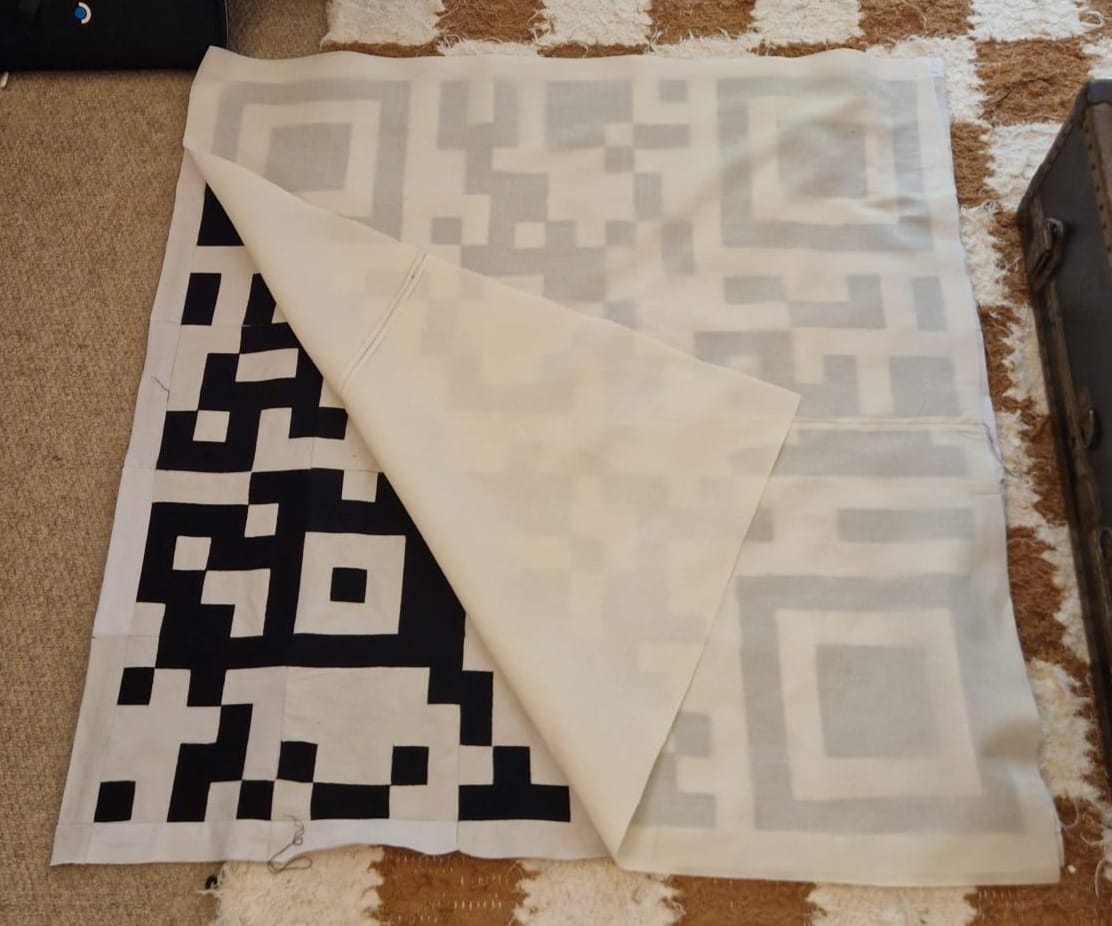
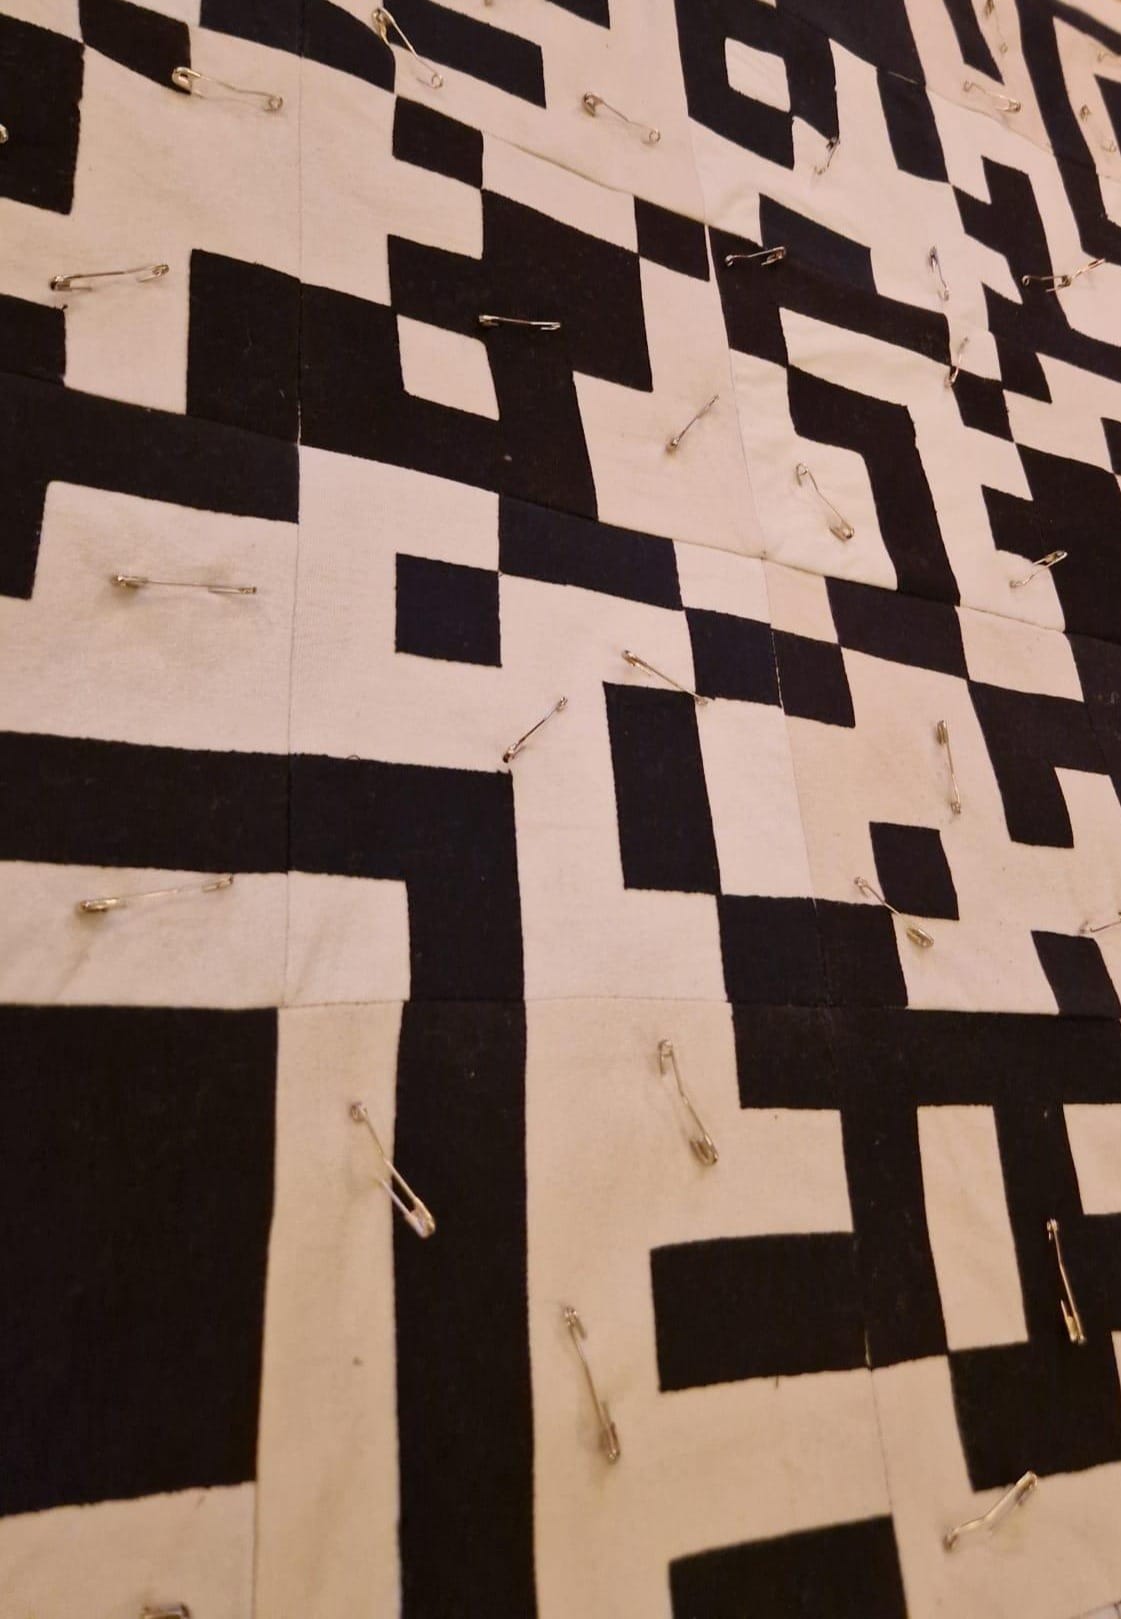
I basted all three layers together using curved safety pins. This took a while but worked pretty well. I think I may have got better results using the spray adhesive to baste the layers together instead as I definitely had some squishing and stretching in my blocks whilst quilting, but overall I was still happy with the result.
Quilting
This was the part of the project I was most nervous about - stitching through the whole sandwich to lock the layers in place. My nan suggested I try "stitch in the ditch” a quilting technique where you sew on top of the existing seams to hide your quilt on the front side. This was the hardest part of the project by far, and surprisingly physical even for this relatively small quilt. I replaced my sewing machine foot with a walking foot to help reduce the sliding of the quilt front. I sewed around the center square and worked my way out to evenly align the blocks. I did this in bursts and took several breaks. I also had some headaches where the curved safety pins got caught on my walking sewing foot because I’d placed them too close to the seams.
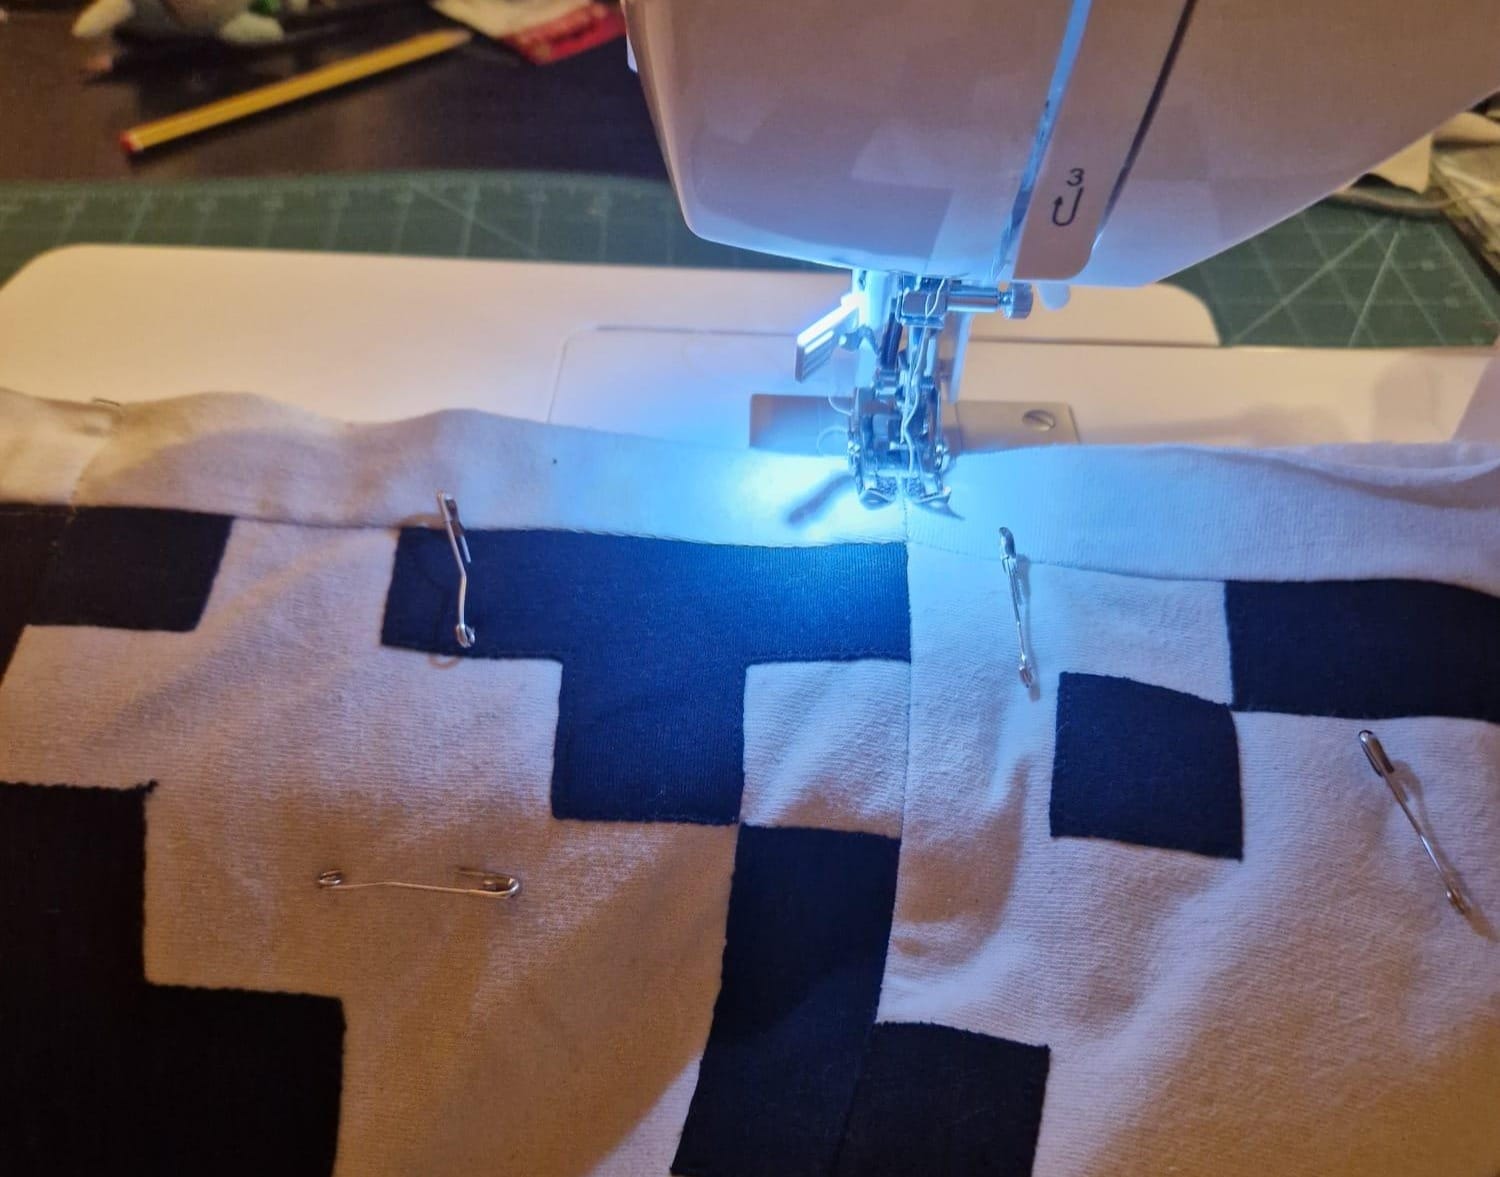
I managed to keep my stitches in the existing seams for the most part but some of my wonky piecing from earlier steps made this tricky. My less than steady hands also led to some slips and wonky stitches in places. I also had puckering throughout, particularly on the thicker sections where the seams joining the blocks added bulk, but not so much that I went back to redo it.
Making and adding binding
I made 3 metres of binding and, as it was exactly the right length, attaching the last side was a little nerve racking. I made this by cutting a series of 3” wide strips out of white t-shirt fabric with interfacing leftover from making the blocks and sewing them together. I folded it in half and pressed it and then folded each side into the middle and pressed it again to create my finished binding. I found making the binding weirdly relaxing although it was definitely a little uneven in place and definitely too thick which became an issue in the corners.
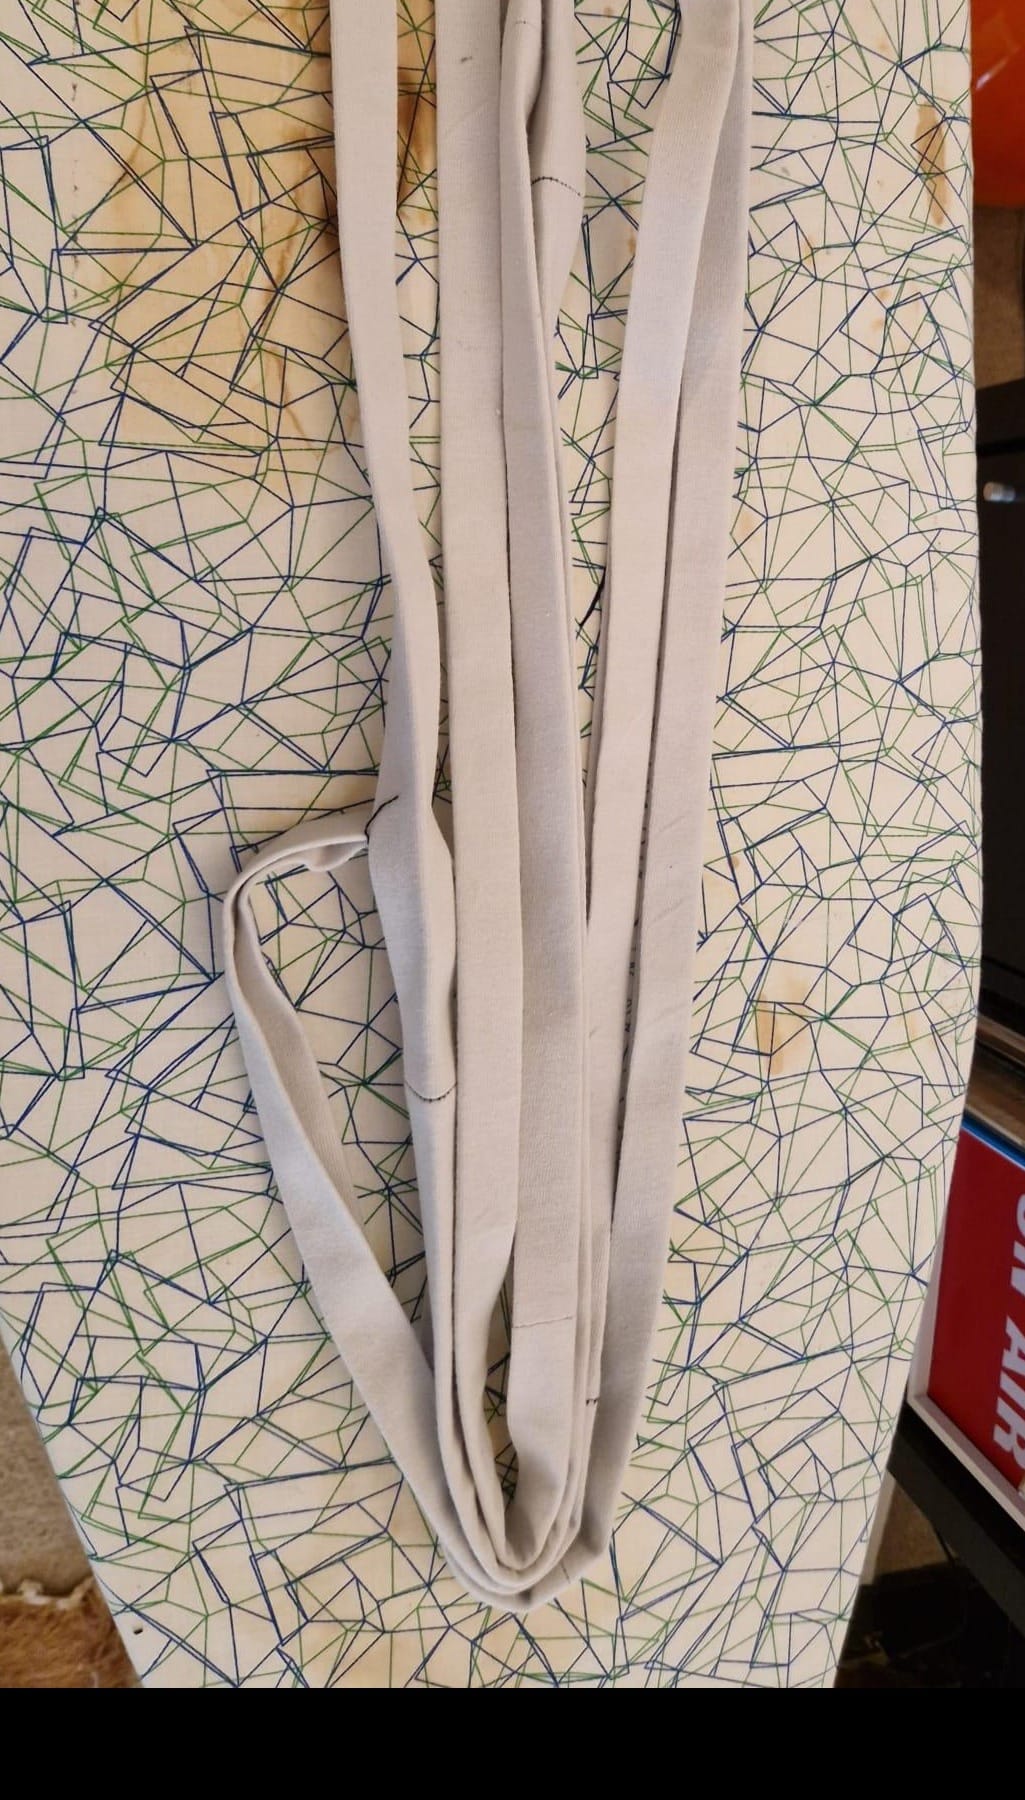
When it came to attaching the binding I just pinned it to the raw edge of the quilted fabric and then sewed through the binding, front, batting, back, binding sandwich with a straight stitch. At the corners I folded the binding back on itself to create a neat corner but, with the interfacing, this meant the corners got pretty chunky. I worked my way around all four sides like this and was just short of binding to finish the last corner neatly so I just left it rough.
Final product
With the binding attached, all that was left to do was to trim some excess threads and dust off my quilt. I am so happy with the result, not least that the QR code actually scans! Whilst it’s not quite big enough to use as an actual quilt, it is warm and has a nice weight to it.
This project was so much better for asking for advice, taking the time to understand the techniques that make a proper-quilt, and generally, at least aspiring to, doing things “the right way” as opposed to making things up as I go as I’m usually inclined to do.
I’m already excited to start my next quilting project. I really enjoyed putting this together and learnt so much for next time.
I’m toying with the idea of building a tool for automatically creating SVGs and a PDF pattern for QR quilts, if that’s something you’re interested in let me know.